LIVE DEMO TUTORIAL VIDEO
I. TECHNICAL REQUIREMENTS
- Joomla 3.9.x
- TZ Portfolio+ 2.1.8+
II. HOW TO INSTALL
- Go to administrator > Components > TZ Portfolio Plus > Addons
- Click to Install > Navigate FlipBook Gallery > Click "Install Now" Button
- Back to Addons > Click "Media Type - FlipBook Gallery" and configure it.
III. HOW TO CONFIGURE FLIPBOOK GALLERY ADD-ON (GLOBAL CONFIGURATION)
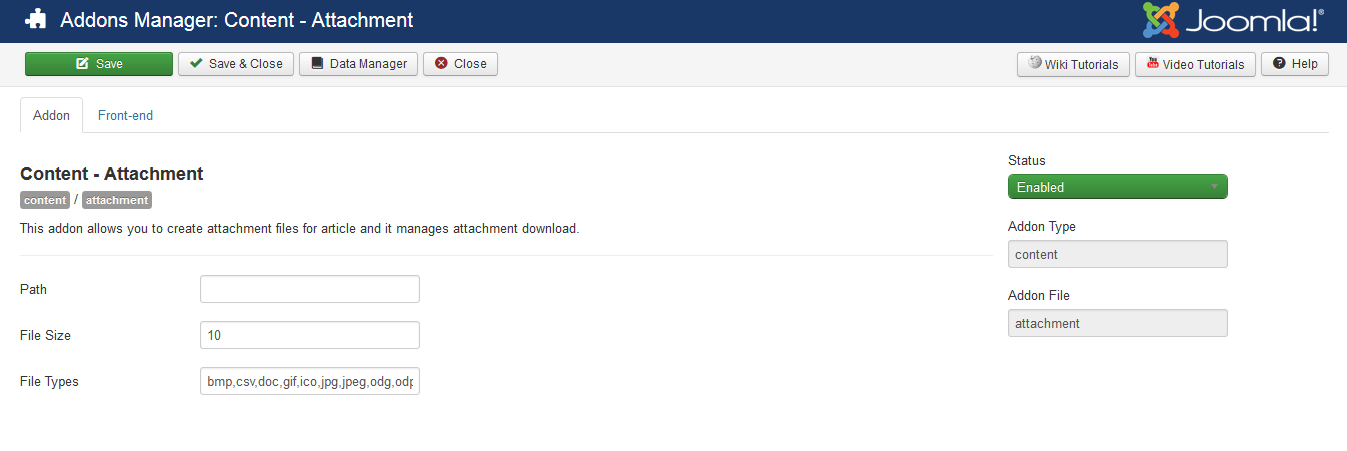
- After having done installation, the add-on surely appears in Add-ons Manager
- Click on Media Type - FlipBook Gallery, in tab "add-on": select lightbox options like Auto-Slideshow, Fullscreen display, Zoom image, Download, Social share and Show thumbnail image.
- In the tab "front-end options", configure options: Navigator, Page Selector, Cover Page, as well as adjust width and height of gallery
- Adjust padding of the page
IV. CONFIGURATION IN CATEGORY
- Please go to "Components > TZ Portfolio Plus > Categories", open a category, navigate the "Article View Options" on the right sidebar, then configure Grid Gallery options
V. CONFIGURATION IN A DETAIL ARTICLE
- Back to Articles, click New to create your article
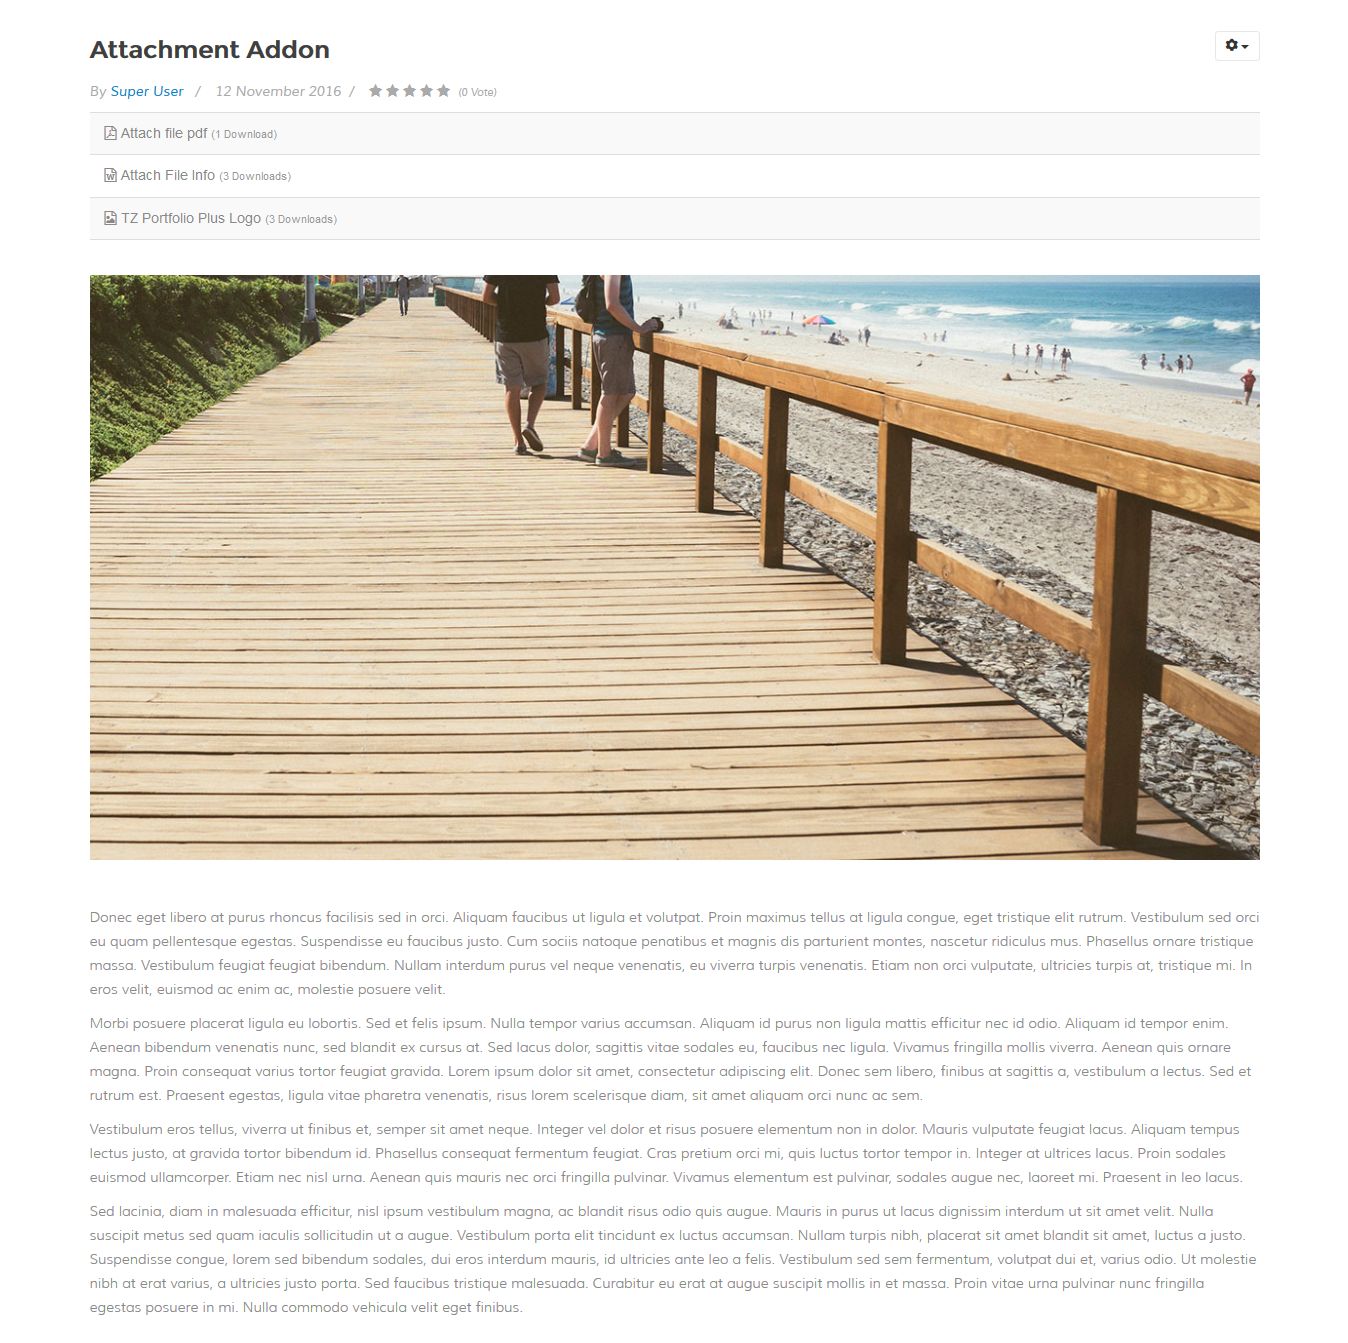
- Fill in your content, and in tab "FlipBook Gallery", let's start to upload your images by Dragging & Dropping your file, then wait for them being uploaded
- Choose Media Type (select FlipBook Gallery), Style (select your favorite one) and navigate "article view options" > FlipBook Gallery Options > configure
Important note All configurations will be inherited from global changes in Add-on, unless related options in detail articles and categories are not configured


 Default style
 Primary style
 Secondary style
 Create a custom style